

Ragi (finger millet ) has not been my favorite for a couple of reasons and this month I have tried my best to start liking it by using it in interesting forms and surprisingly I did like it. I think the one common reason why some people may not be excited about ragi is the dull appearance it lends to the cooked dish. I think that a dish should not only be healthy but it should look good too. So I was thinking of ways to make ragi look more appetizing and came up with this idea.
Jump to:
I usually do not buy sugary cereals. It is always Fiber One and plain old Cheerios. My son likes both. Others which I get occasionally are corn flakes, puffed brown rice, puffed millet and puffed corn. I once tried the cocoa pebbles and felt that it way too sweet. My son keeps asking for chocolate flavored cereal and I keep telling him that I cannot get it because it is not healthy. Finally I got the idea to make my own chocolate cereal.
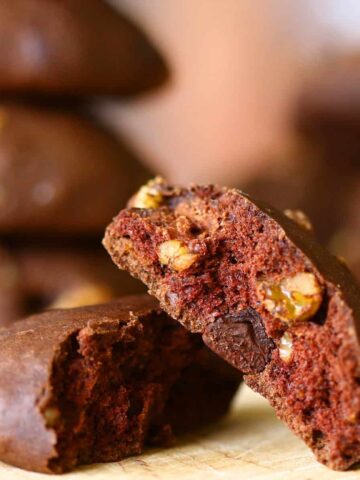
I decided to mix cocoa powder with ragi flour; sweeten it with maple syrup; form a smooth dough and try to cut out small circles and bake it. After I was done preparing the dough, I was able to roll it out but was not able to remove the circles off the surface. It was sort of sticky. So I decided to score it into diamonds instead and bake it like crackers. Even though I was not able to do exactly what I had planned to but the experiment did end well. My son loved this homemade chocolate cereal. Keeping the recipe I have given as a base one can try this with a variety of flours and come with a lot of healthy variations.
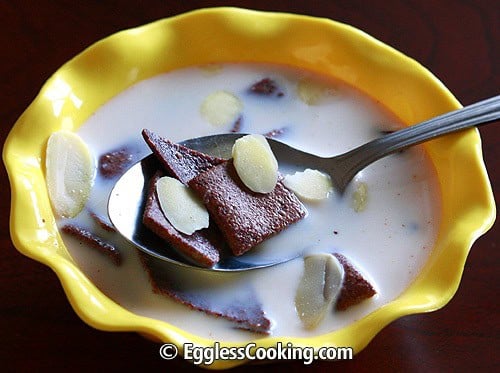
How to serve it?

If you tried this Homemade Chocolate Cereal recipe, please leave a 🌟 star rating and let me know how it went in the 📝 comments below!
💌 Save This Recipe!
We will also add you to our email list. Unsubscribe at any time.
Recipe
Homemade Chocolate Cereal Recipe
Ingredients
Dry Ingredients:
- ½ cup RagiFlour (Finger Millet)
- 1 tablespoon Whole Wheat Flour
- 1 tablespoon Flax Seed Powder
- 4 teaspoons Cocoa Powder
Wet Ingredients:
- 1 teaspoon Vegetable Oil Spread
- 3 tablespoons Maple Syrup
- 3 tablespoons Water
- 1 teaspoon Vanilla Extract
Instructions
- Preheat oven at 375F/190C for 15 minutes. If using a cookie sheet with edges, flip it over (so you get a flat top) and grease it with some oil spread. Or you can use a flat cookie sheet and grease the same. You will be requiring 2 sheets.
- Meanwhile combine together the dry and wet ingredients into a smooth dough.
- Divide the dough into two equal parts and roll each half directly on the greased cookie sheets. Roll as thin as possible and using a knife/pizza cutter score it into diamonds/squares directly on the cookie sheet; do not separate. Bake for 8-15 minutes. The baking time depends on the thickness of the rolled out dough.
- The first set I baked was thicker than the second set. So the first one took approximately 12-13 minutes but the 2nd was done in about 8 minutes itself. You can smell the cocoa and also can see that the pieces around the edges turning sort of black. Keep a watch and remove the pans immediately out of the oven.
- The pieces will start coming off while you are removing it from the sheet. Spread it on a plate or another cool sheet. Once the chocolate squares have cooled completely store it in an airtight container.


Tried this recipe? Leave a comment and rating!